Opnsense - Configuring ProtonVPN with Wireguard
These steps allow you to install an Opnsense system from scratch and connect it to ProtonVPN using Wireguard.
Steps
- 1. Download Opnsense
- 2. Boot ISO
- 3. Initial configuration
- 4. Login with browser
- 5. Add gateway so opnsense has Internet access
- 6. update system
- 7. Install os-wireguard plugin
- 8. Go to ProtonVPN
- 9. Add new endpoint
- 10. Login the shell
- 11. Add Local
- 12. Enable Wireguard
- 13. Edit Local Configuration
- 14. Create Interface
- 15. Enable Interface
- 16. Add Gateway
- 17. Firewall Aliases
- 18. Configure NAT
- 19. Firewall rule for local IPs
- More info in Opnsense docs
- Appendix. Adding a second Wireguard Endpoint
1. Download Opnsense
Download opnsense. Select image type DVD.
Extract to bz2 to obtain the iso file.
Burn isoto a USB drive (if needed). For this, I use ether, as it’s an AppImage that doesn’t require any installation. It might give a warning saying that the image might not be bootable (you can ignore that).
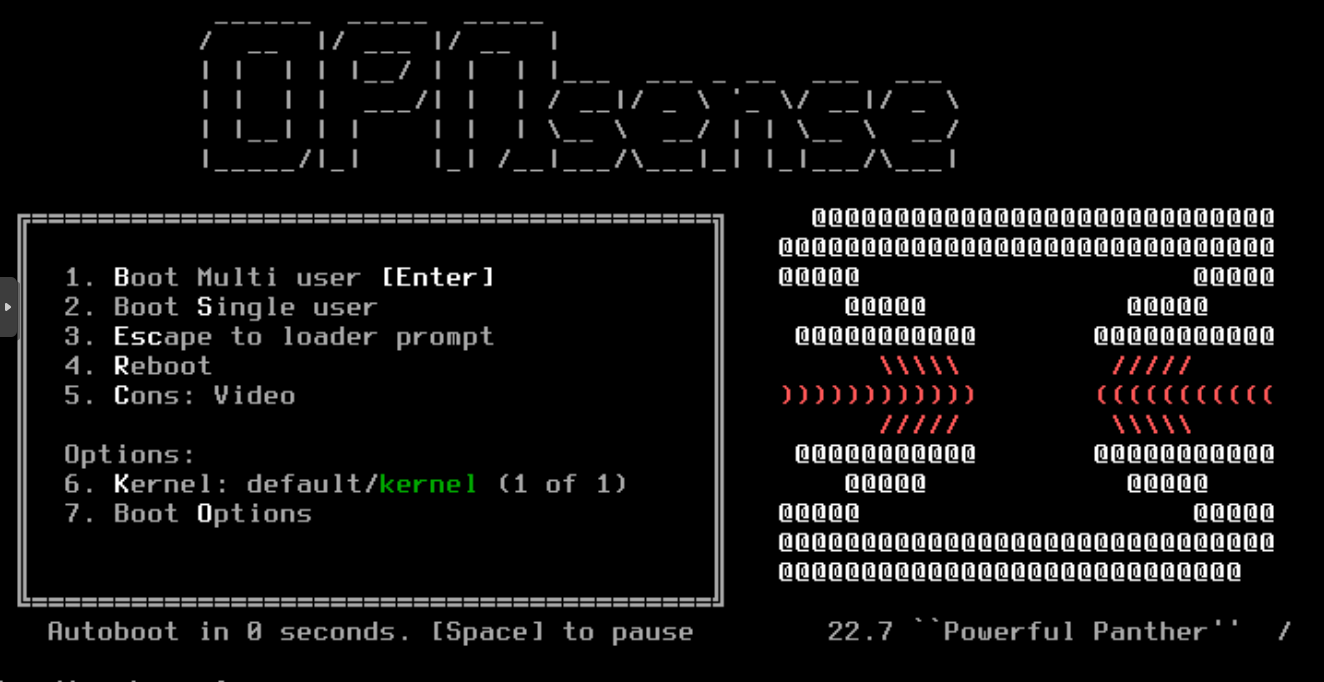
2. Boot ISO
Boot opnsense ISO and login with with user installer password opnsense to start installation process.
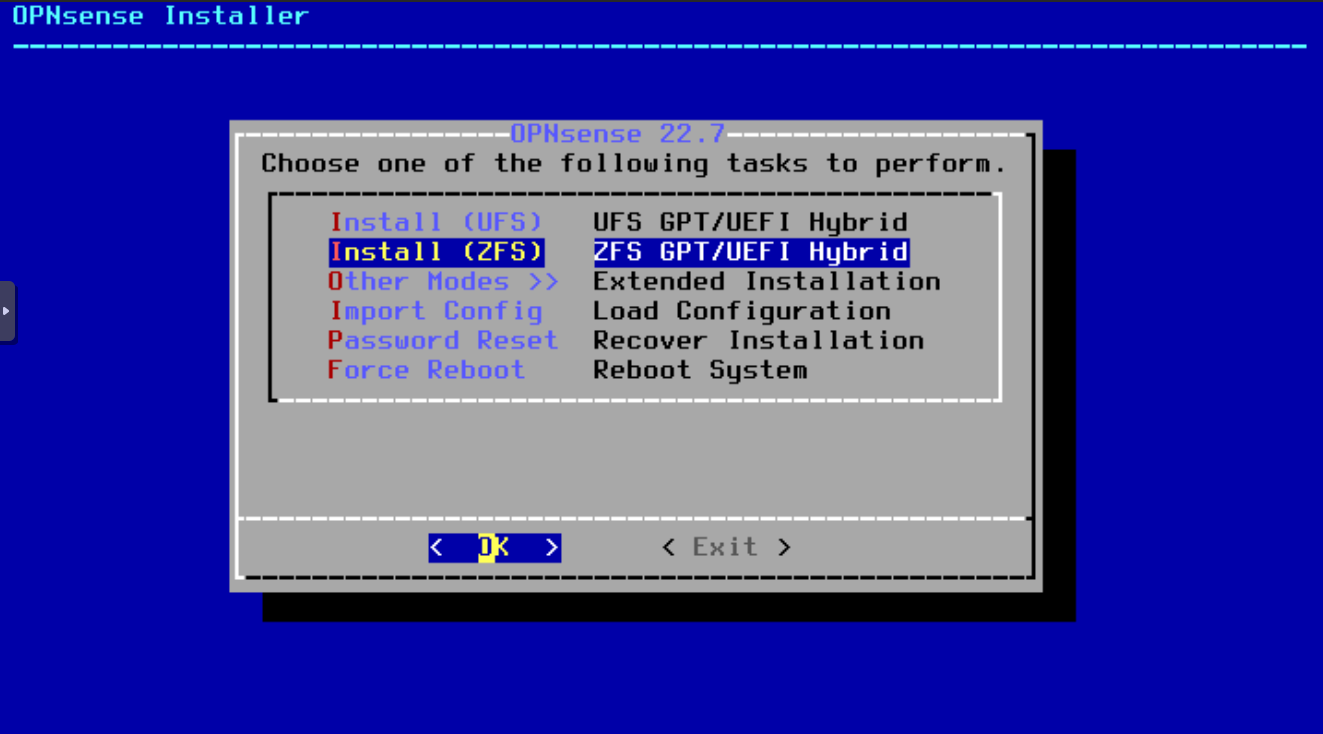
Select the filesystem:
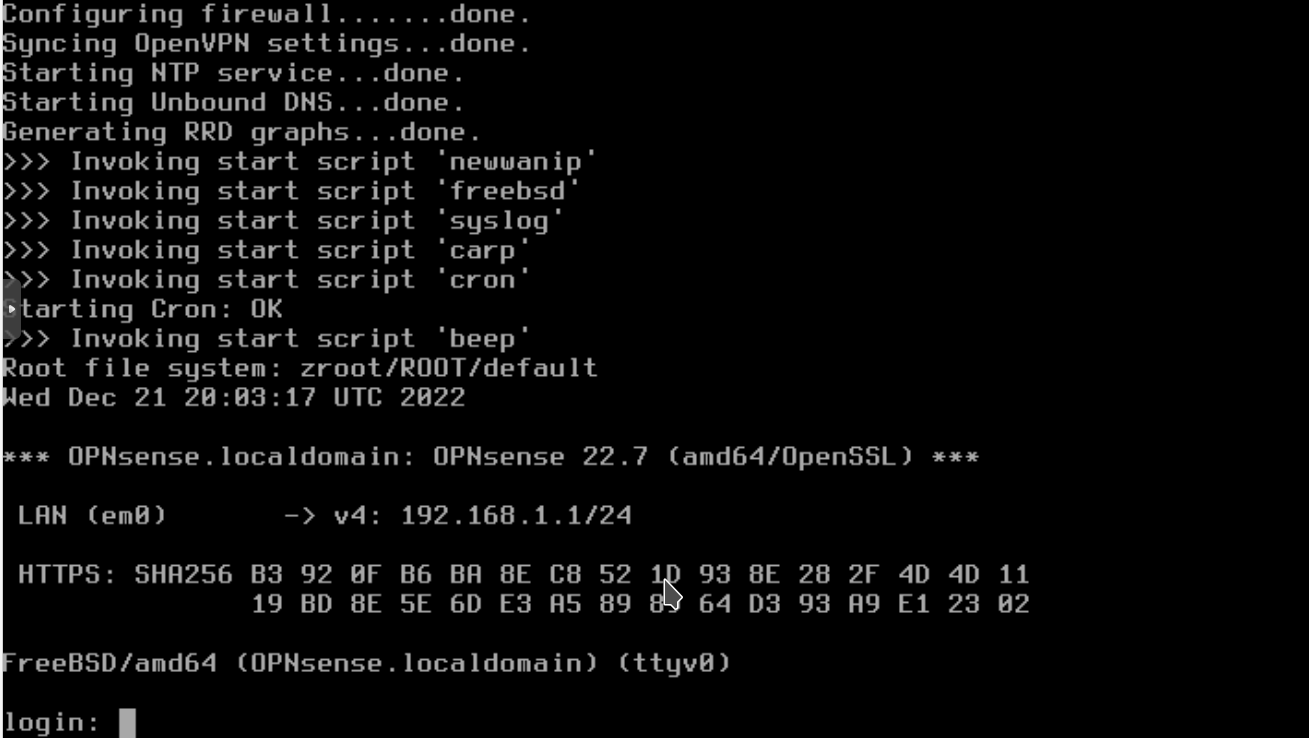
3. Initial configuration
Once Opnsense is install login as root with password opnsense.
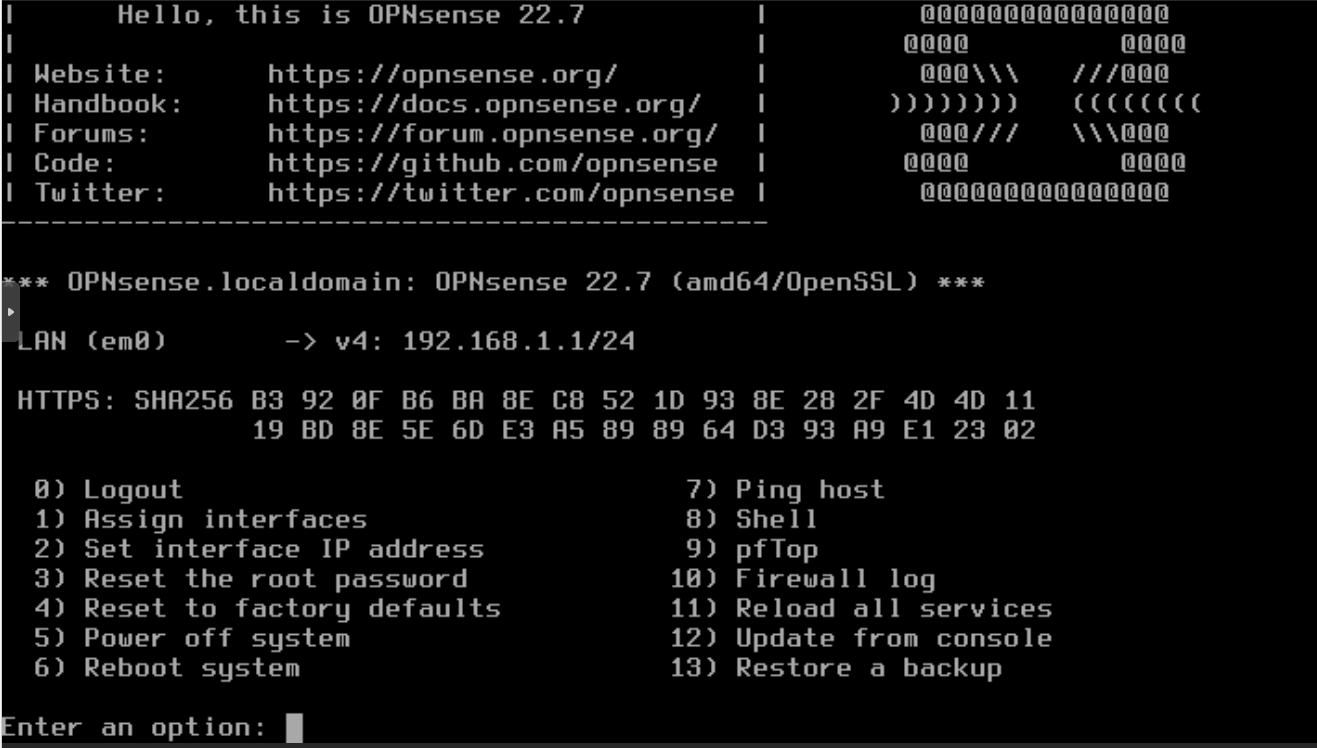
Select 2 the enter your desired interface IP address.
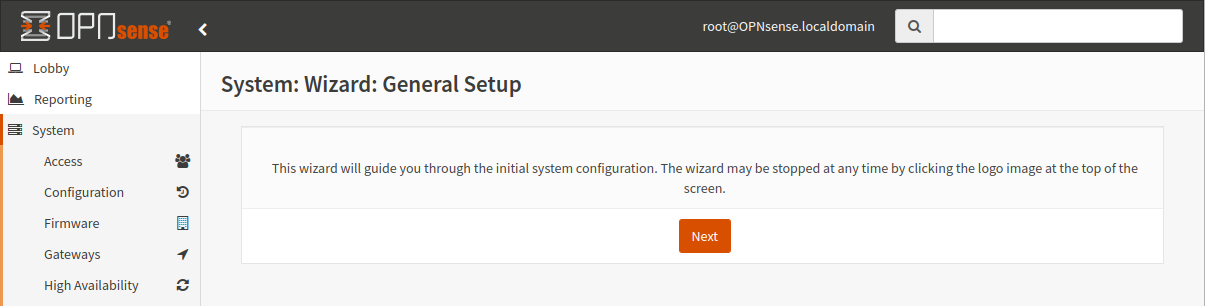
4. Login with browser
Login with the browser to your new IP address.
On the first login you will be asked tostart the General Setup Wizard
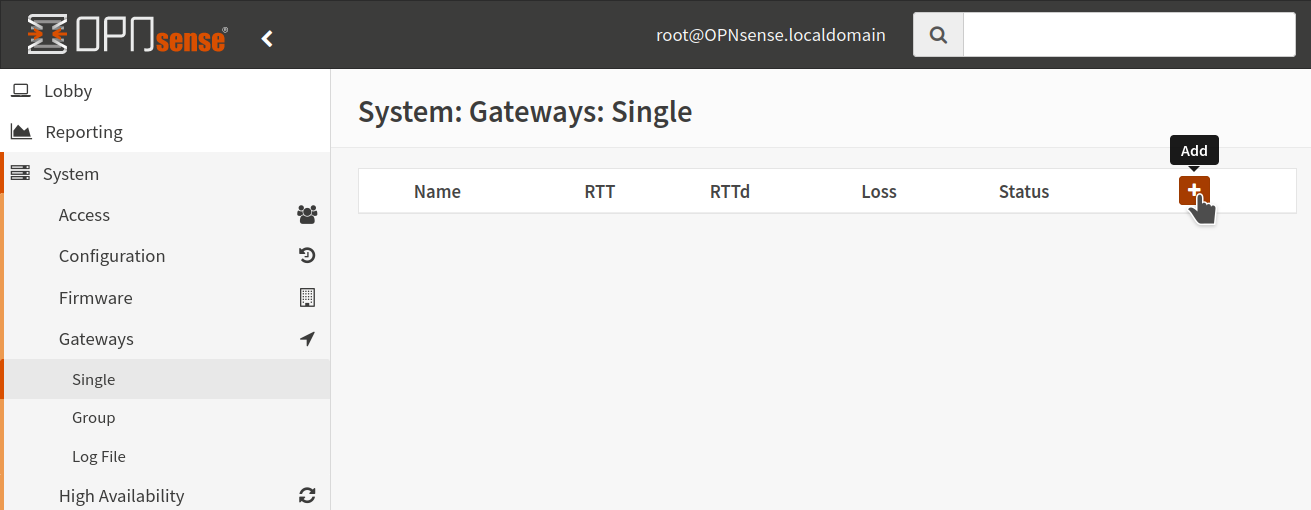
5. Add gateway so opnsense has Internet access
Go to System > Gateways > Single and click Add.
I added a name, ip address and enabled “upstream gateway”.
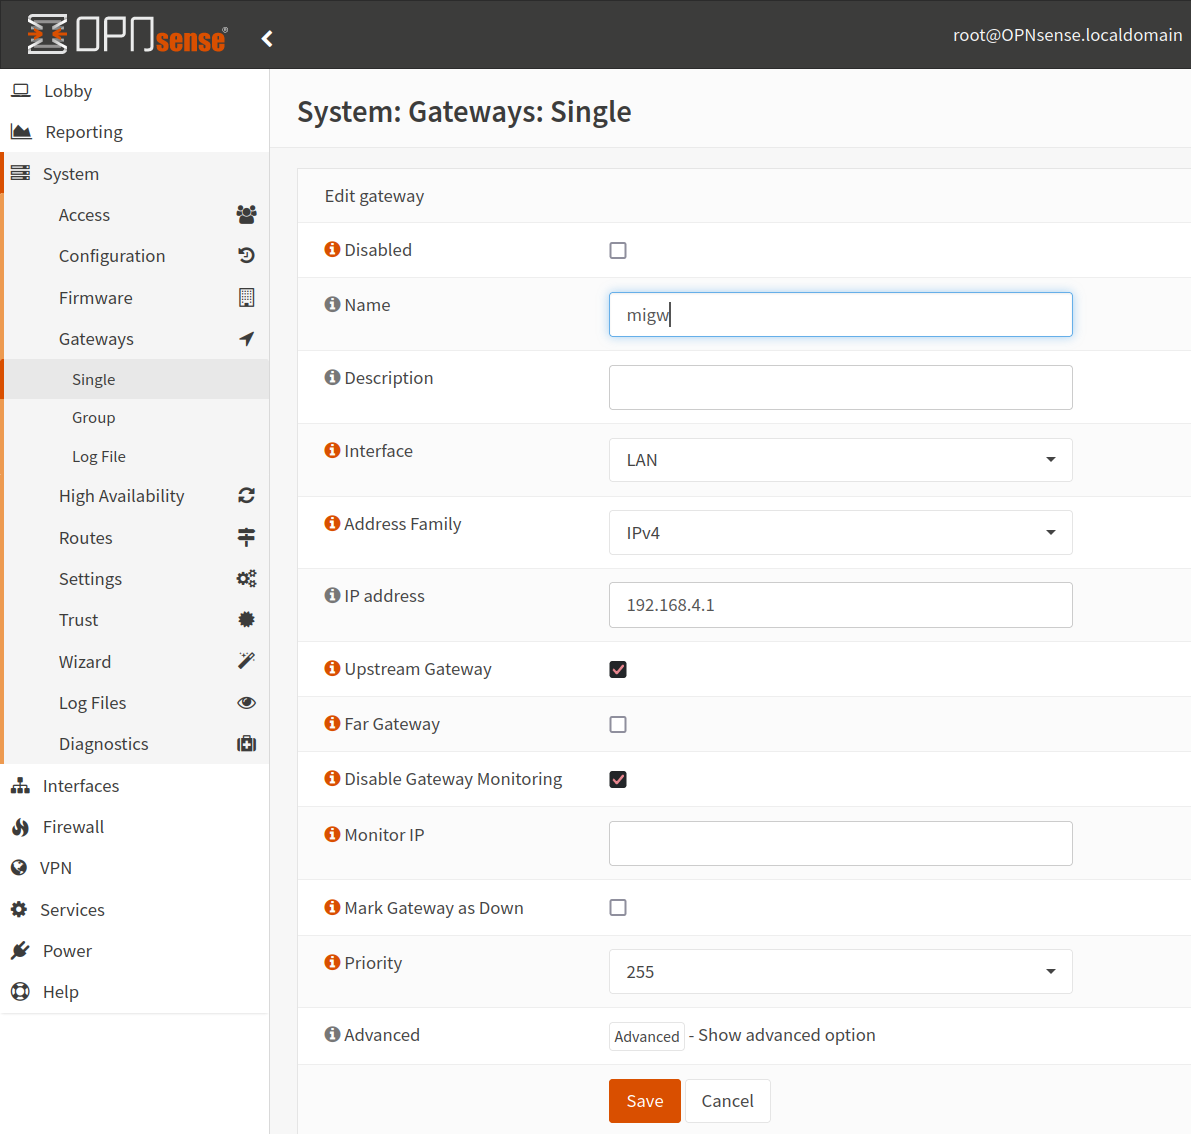
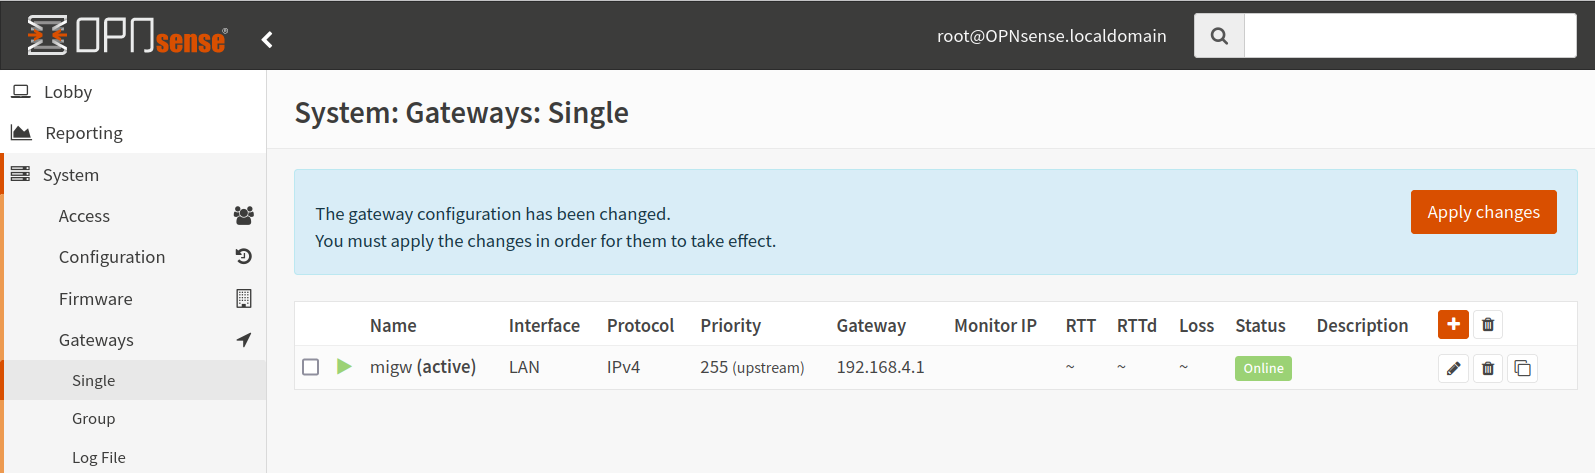
Click on Save and then Apply changes.
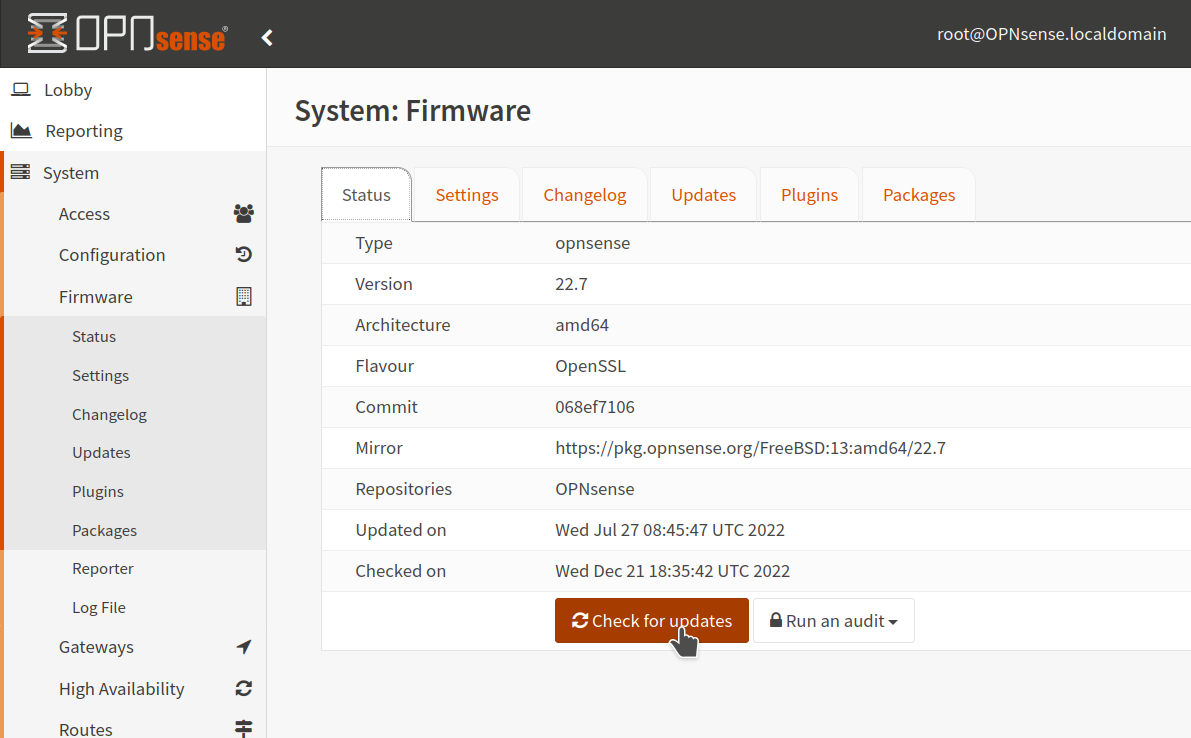
6. update system
Now that my OpnSense has Internet I can update my system.
System –> Firmware –> Updates
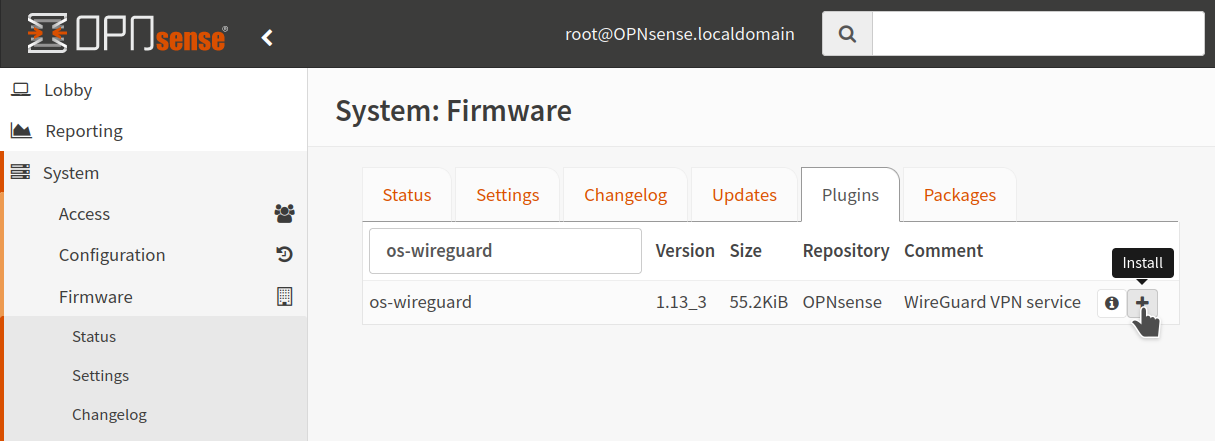
7. Install os-wireguard plugin
system-firmware-plugins. Install os-wireguard
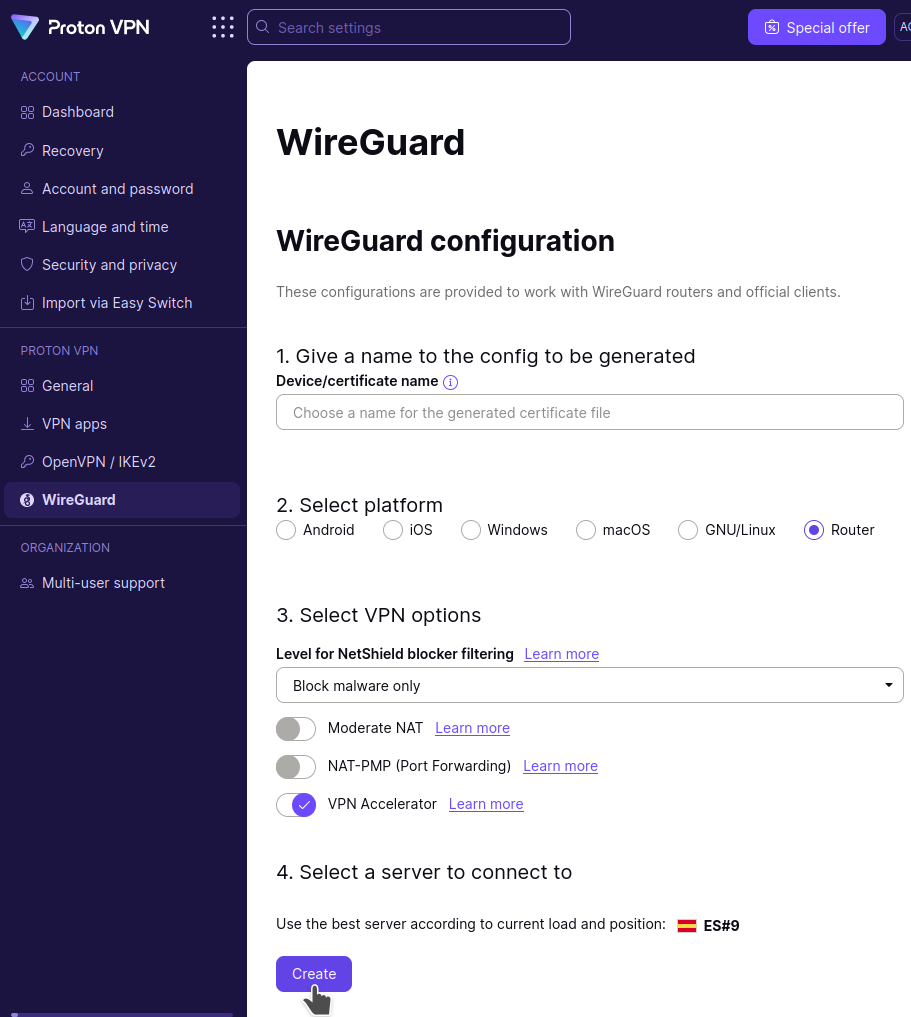
8. Go to ProtonVPN
Generate a wireguard config file from my Proton VPN account.
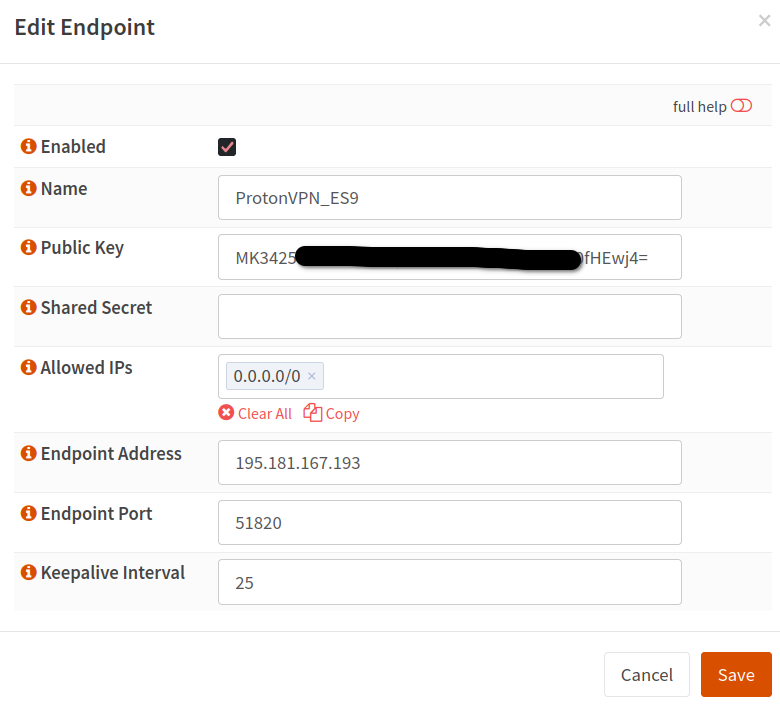
9. Add new endpoint
Go to VPN > Firewall > WireGuard > Endpoints and click Add
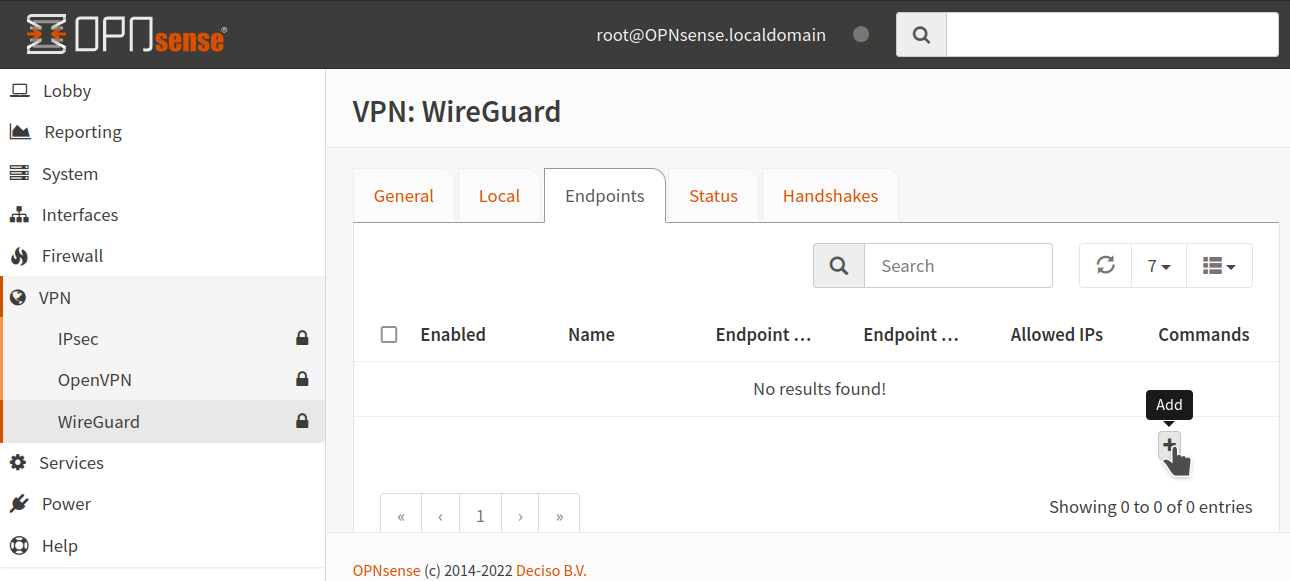
And enter:
Name:               <whatever you want>
Public Key:         <The PublicKey in the Peer section of the ProtonVPN config file>
Shared Secret:      <empty>
Allowed IPs:        0.0.0.0/0
Endpoint Address:   <The Endpoing IP in the Peer section of the ProtonVPN config file>
Endpoint Port:      <The Endpoing Port in the Peer section of the ProtonVPN config file>
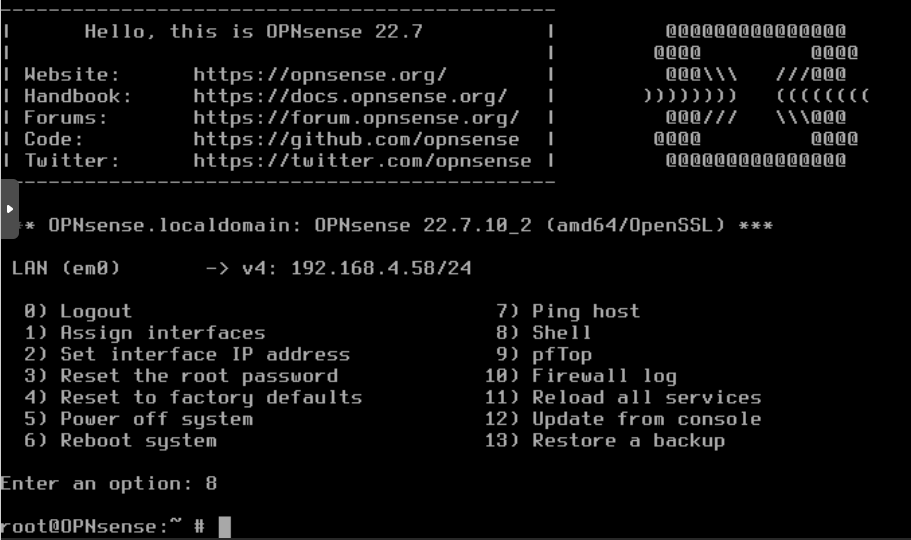
10. Login the shell
You can do this remotely by first enabling Secure Shell in System > Settings > Administration, and activating the checkboxes Enable Secure Shell, Permit lroot user login and Permit password login that are disabled by default. Highly recommended to disable them this.
You can also login locally with the root user and enter option 8 Shell:
The ProtonVPN config file you generated in the previous step will contain a Private Key of the Interface and Public Key of the Peer. We need to obtain the Public Key of the Interface that can be obtained from the Private Key of the Interface.
For this, in the shell enter:
echo PrivateKeyofInterface | wg pubkey
11. Add Local
Click on VPN–> Wireguard -> Local –> Add
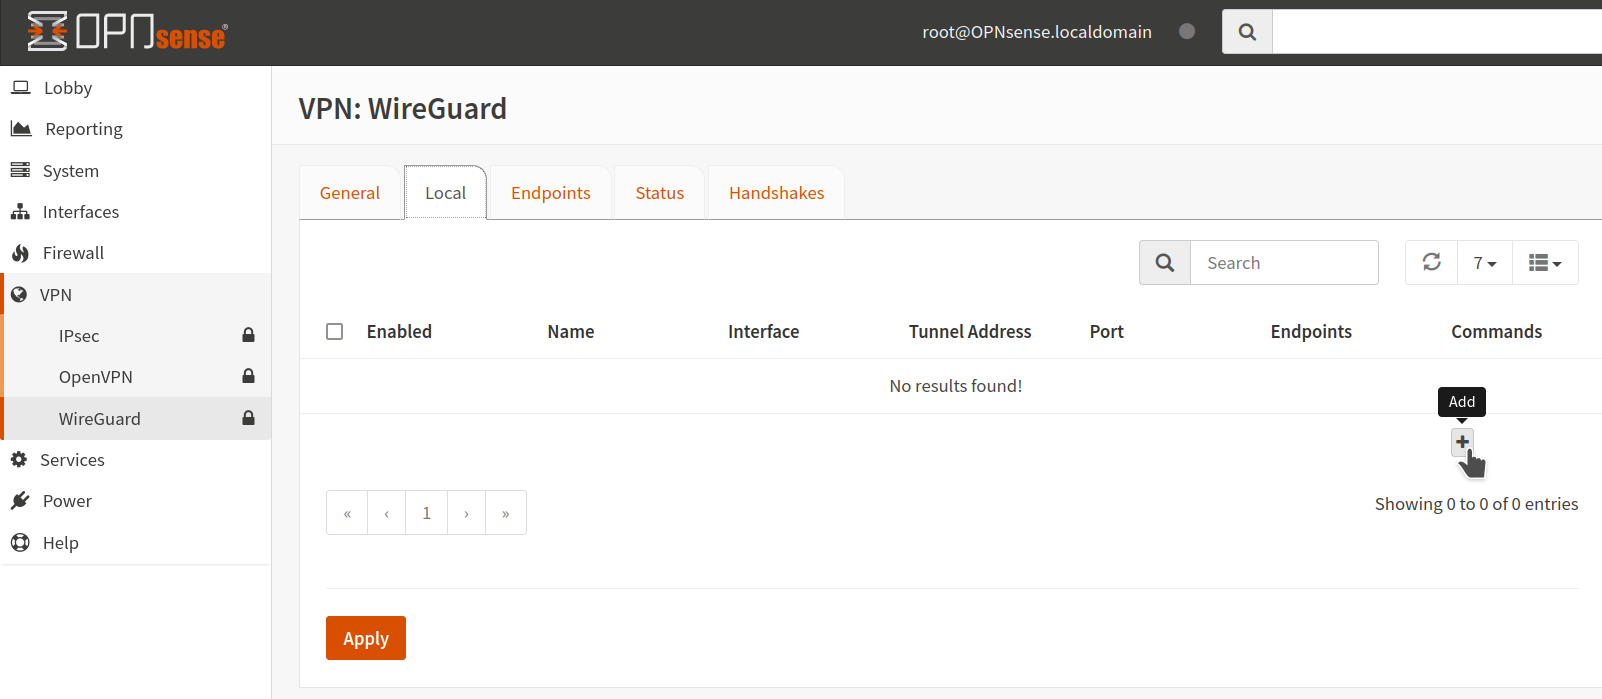
Enable Advanced mode the view more config options.
And fill out:
Name:                <whatever you want>
Public Key:          <empty>
Private Key:         <empty>
Listen Port:         <Select a unique port for each tunnel>
MTU:                 1412
DNS Server:          <empty>
Tunnel Address:      10.2.0.2/28
Peers:               <Endpoint we just created>
Disable Routes:      Checked
Gateway:             <Select a unique IP for each tunnel>
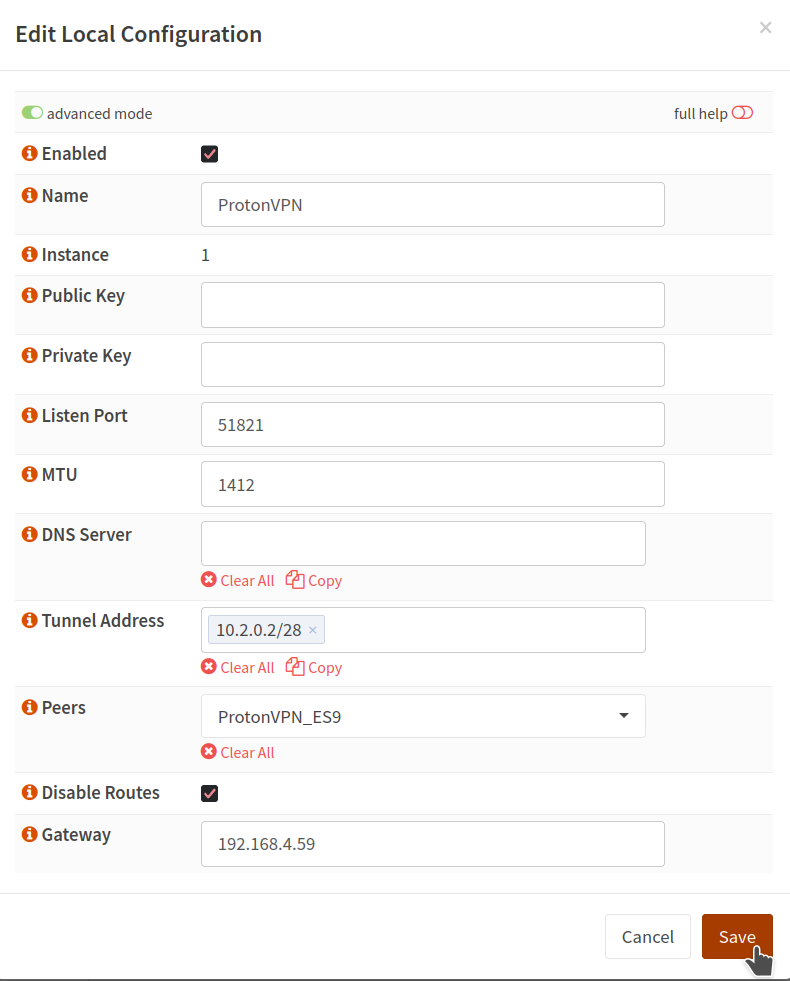
When we leave the Public Key and Private Key fields empty, wireguard will generate them automatically (we will change them later).
The tunnel address mask provided by ProtonVPN is /32, which should also work, but if we want to use multiple tunnels we need a more open range like /28
12. Enable Wireguard
Con VPN > Wireguard > General activate Enable WireGuard and click Apply.
If you then go to VPN > Wireguard > Status and Handshake you should see the connection and data being sent and received.
13. Edit Local Configuration
Go again to VPN > Wireguard > Local , edit the tunnel.
You will see that Wireguard created a Public Key and Private Key.
Replace them with the Private Key in the Interface section of the ProtonVPN config file and Public Key we generated in the console earlier.
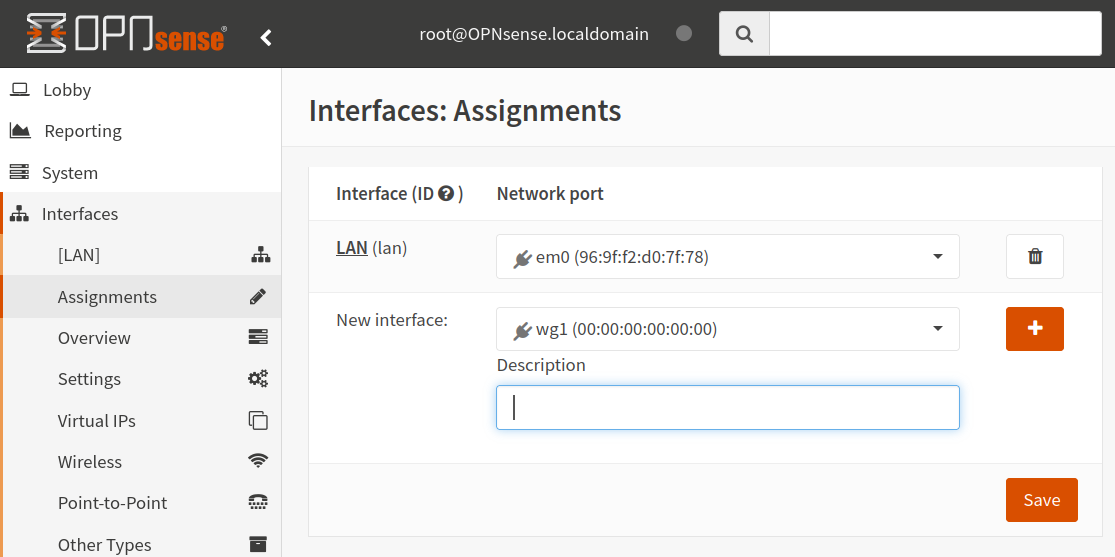
14. Create Interface
Go to `Interfaces > Assignments
Select the new interface that will appear and click Add and then Save.
15. Enable Interface
Go to Interfaces > MynewInterface (for example OPT1)
Enable the new interface and click Save and then Apply changes.
16. Add Gateway
Go to System > Gateways > Single, click Add.
Enter the following settings:
Name:               <Your choice>
Interface:          <The newly created Interface, like OPT1>
Address Family:     IPv4
IP address:         <The Peer Endpoint in my Proton config file>
Upstream Gateway:   Unchecked
Far Gateway:        Checked
Disable Gateway Monitoring: Unchecked
Save and apply changes.
17. Firewall Aliases
Go to Firewall > Aliases
Add a new alias with the following:
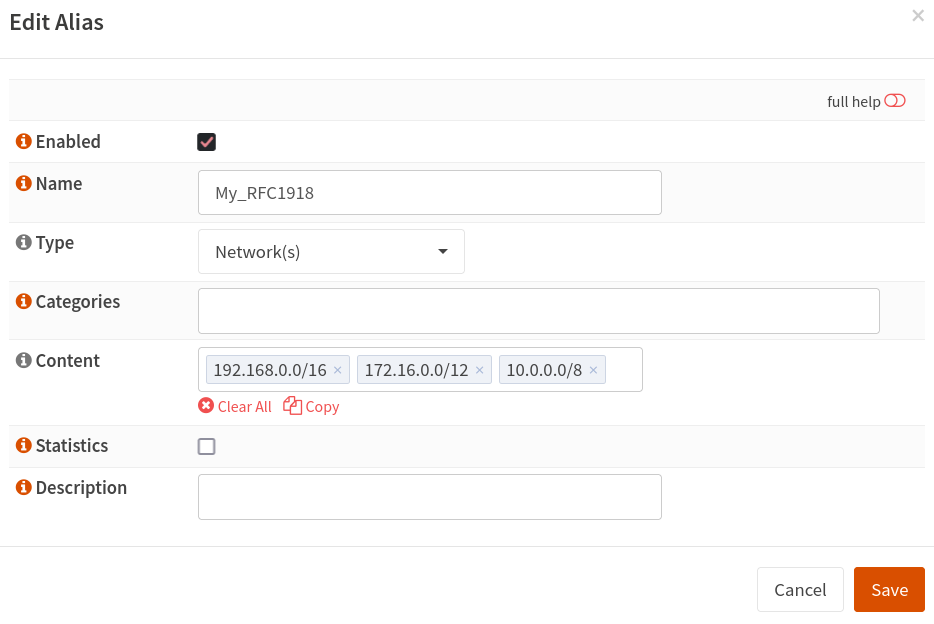
Add a new alias to the group of IPs that will use this gateway.
18. Configure NAT
Go to Firewall > NAT > Outbound and select Hybrid outbout NAT rule generation, click Save and Apply changes.
Add a new rule with:
Interface:      <Your new Wireguard Interface>
Source Address: <The Alias you wish to route>
Save and Apply.
19. Firewall rule for local IPs
Go to Firewall > Rules > LAN
More info in Opnsense docs
Official docs still don’t have the steps needed for Opnsense, but can help you for troubleshooting and more info.
Appendix. Adding a second Wireguard Endpoint
You can add multiple wireguard endpoints. So for example, some of your hosts can use a VPN in one country and other on another country.
For this:
- Generate a new config file for your desired configuration.
- Add the new endpoint on
VPN > Wireguard > Endpoints - Add the new local on
VPN > Wireguard > Local - For the hosts you want to connect to the secondary VPN edit the
Firewall > Rules > LANand theFirewall > NAT > Outbound