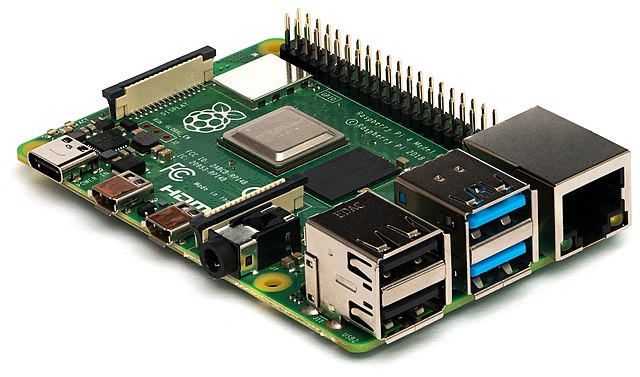
Steps to run zigbee2mqtt in a Raspberry Pi 4 (or any other Pi)


This article is also available in Lbry / Odysee here
To install zigbee2mqtt software into a new Raspberry Pi, just follow these steps.
-
Download Raspberry Pi Imager to burn Raspberry Pi OS Lite in an SD card. In Linux you can use instead the command:
snap install rpi-imager -
Enable SSH to connect to it headless. To do this, create an empty file called “ssh” in the BOOT partition, for example with the command touch ssh. Documentation link
- Insert the sd card in the RPi4, boot it up, and login with default username and password:
Username: pi Password: raspberry - Run the following commands
- Change default password:
passwd - Run
raspi-configand change what you need. In my case I changed the hostname, timezone and locale. You may be asked to reboot the system after this.sudo raspi-config - Update and upgrade the system:
sudo apt update && sudo apt upgrade -y
- Change default password:
-
Plug in the zigbee usb adapter on the Pi.
- Locate the device location. Here are the official instructions. In my case, the usb was in another location To find it I used:
pi@pi4:~ $ ls /dev/serial/by-id -l total 0 lrwxrwxrwx 1 root root 13 ene 22 00:35 usb-Silicon_Labs_slae.sh_cc2652rb_stick_-_slaesh_s_iot_stuff_00_12_4B_00_21_CC_3C_A8-if00-port0 -> ../../ttyUSB0 pi@pi4:~ $ - Install zigbee2mqtt
# Setup Node.js repository sudo curl -sL https://deb.nodesource.com/setup_12.x | sudo -E bash - # NOTE 1: If you see the message below please follow: https://gist.github.com/Koenkk/11fe6d4845f5275a2a8791d04ea223cb. # ## You appear to be running on ARMv6 hardware. Unfortunately this is not currently supported by the NodeSource Linux distributions. Please use the 'linux-armv6l' binary tarballs available directly from nodejs.org for Node.js 4 and later. # IMPORTANT: In this case instead of the apt-get install mentioned below; do: sudo apt-get install -y git make g++ gcc # NOTE 2: On x86, Node.js 10 may not work. It's recommended to install an unofficial Node.js 12 build which can be found here: https://unofficial-builds.nodejs.org/download/release/ (e.g. v12.16.3) # Install Node.js; sudo apt-get install -y nodejs git make g++ gcc # Verify that the correct nodejs and npm (automatically installed with nodejs) # version has been installed node --version # Should output v12.X or v10.X npm --version # Should output 6.X # Clone Zigbee2MQTT repository sudo git clone https://github.com/Koenkk/zigbee2mqtt.git /opt/zigbee2mqtt sudo chown -R pi:pi /opt/zigbee2mqtt # Install dependencies (as user "pi") cd /opt/zigbee2mqtt npm ci --production - Edit
opt/zigbee2mqtt/data/configuration.yalmfile. In my case:# Home Assistant integration (MQTT discovery) homeassistant: true # allow new devices to join permit_join: true # MQTT settings mqtt: # MQTT base topic for zigbee2mqtt MQTT messages base_topic: zigbee2mqtt # MQTT server URL server: 'mqtt://192.168.4.20' # MQTT server authentication, uncomment if required: user: zigbee2mqtt password: password # Serial settings serial: port: /dev/ttyUSB0 advanced: network_key: GENERATE channel: 12 - That’s it! View zigbee2mqtt status with
systemctl status zigbee2mqtt, start it withsystemctl start zigbee2mqttand enjoy!